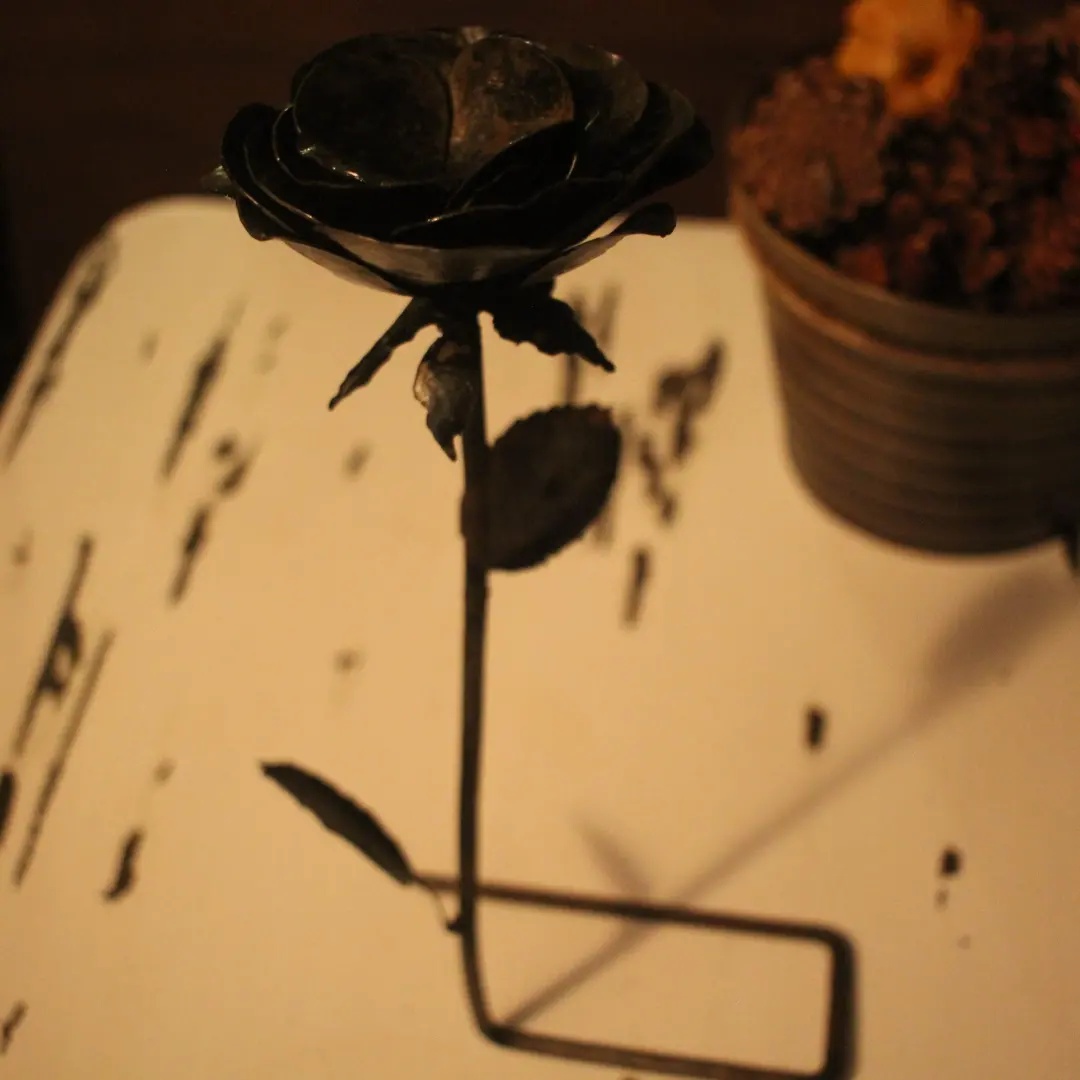
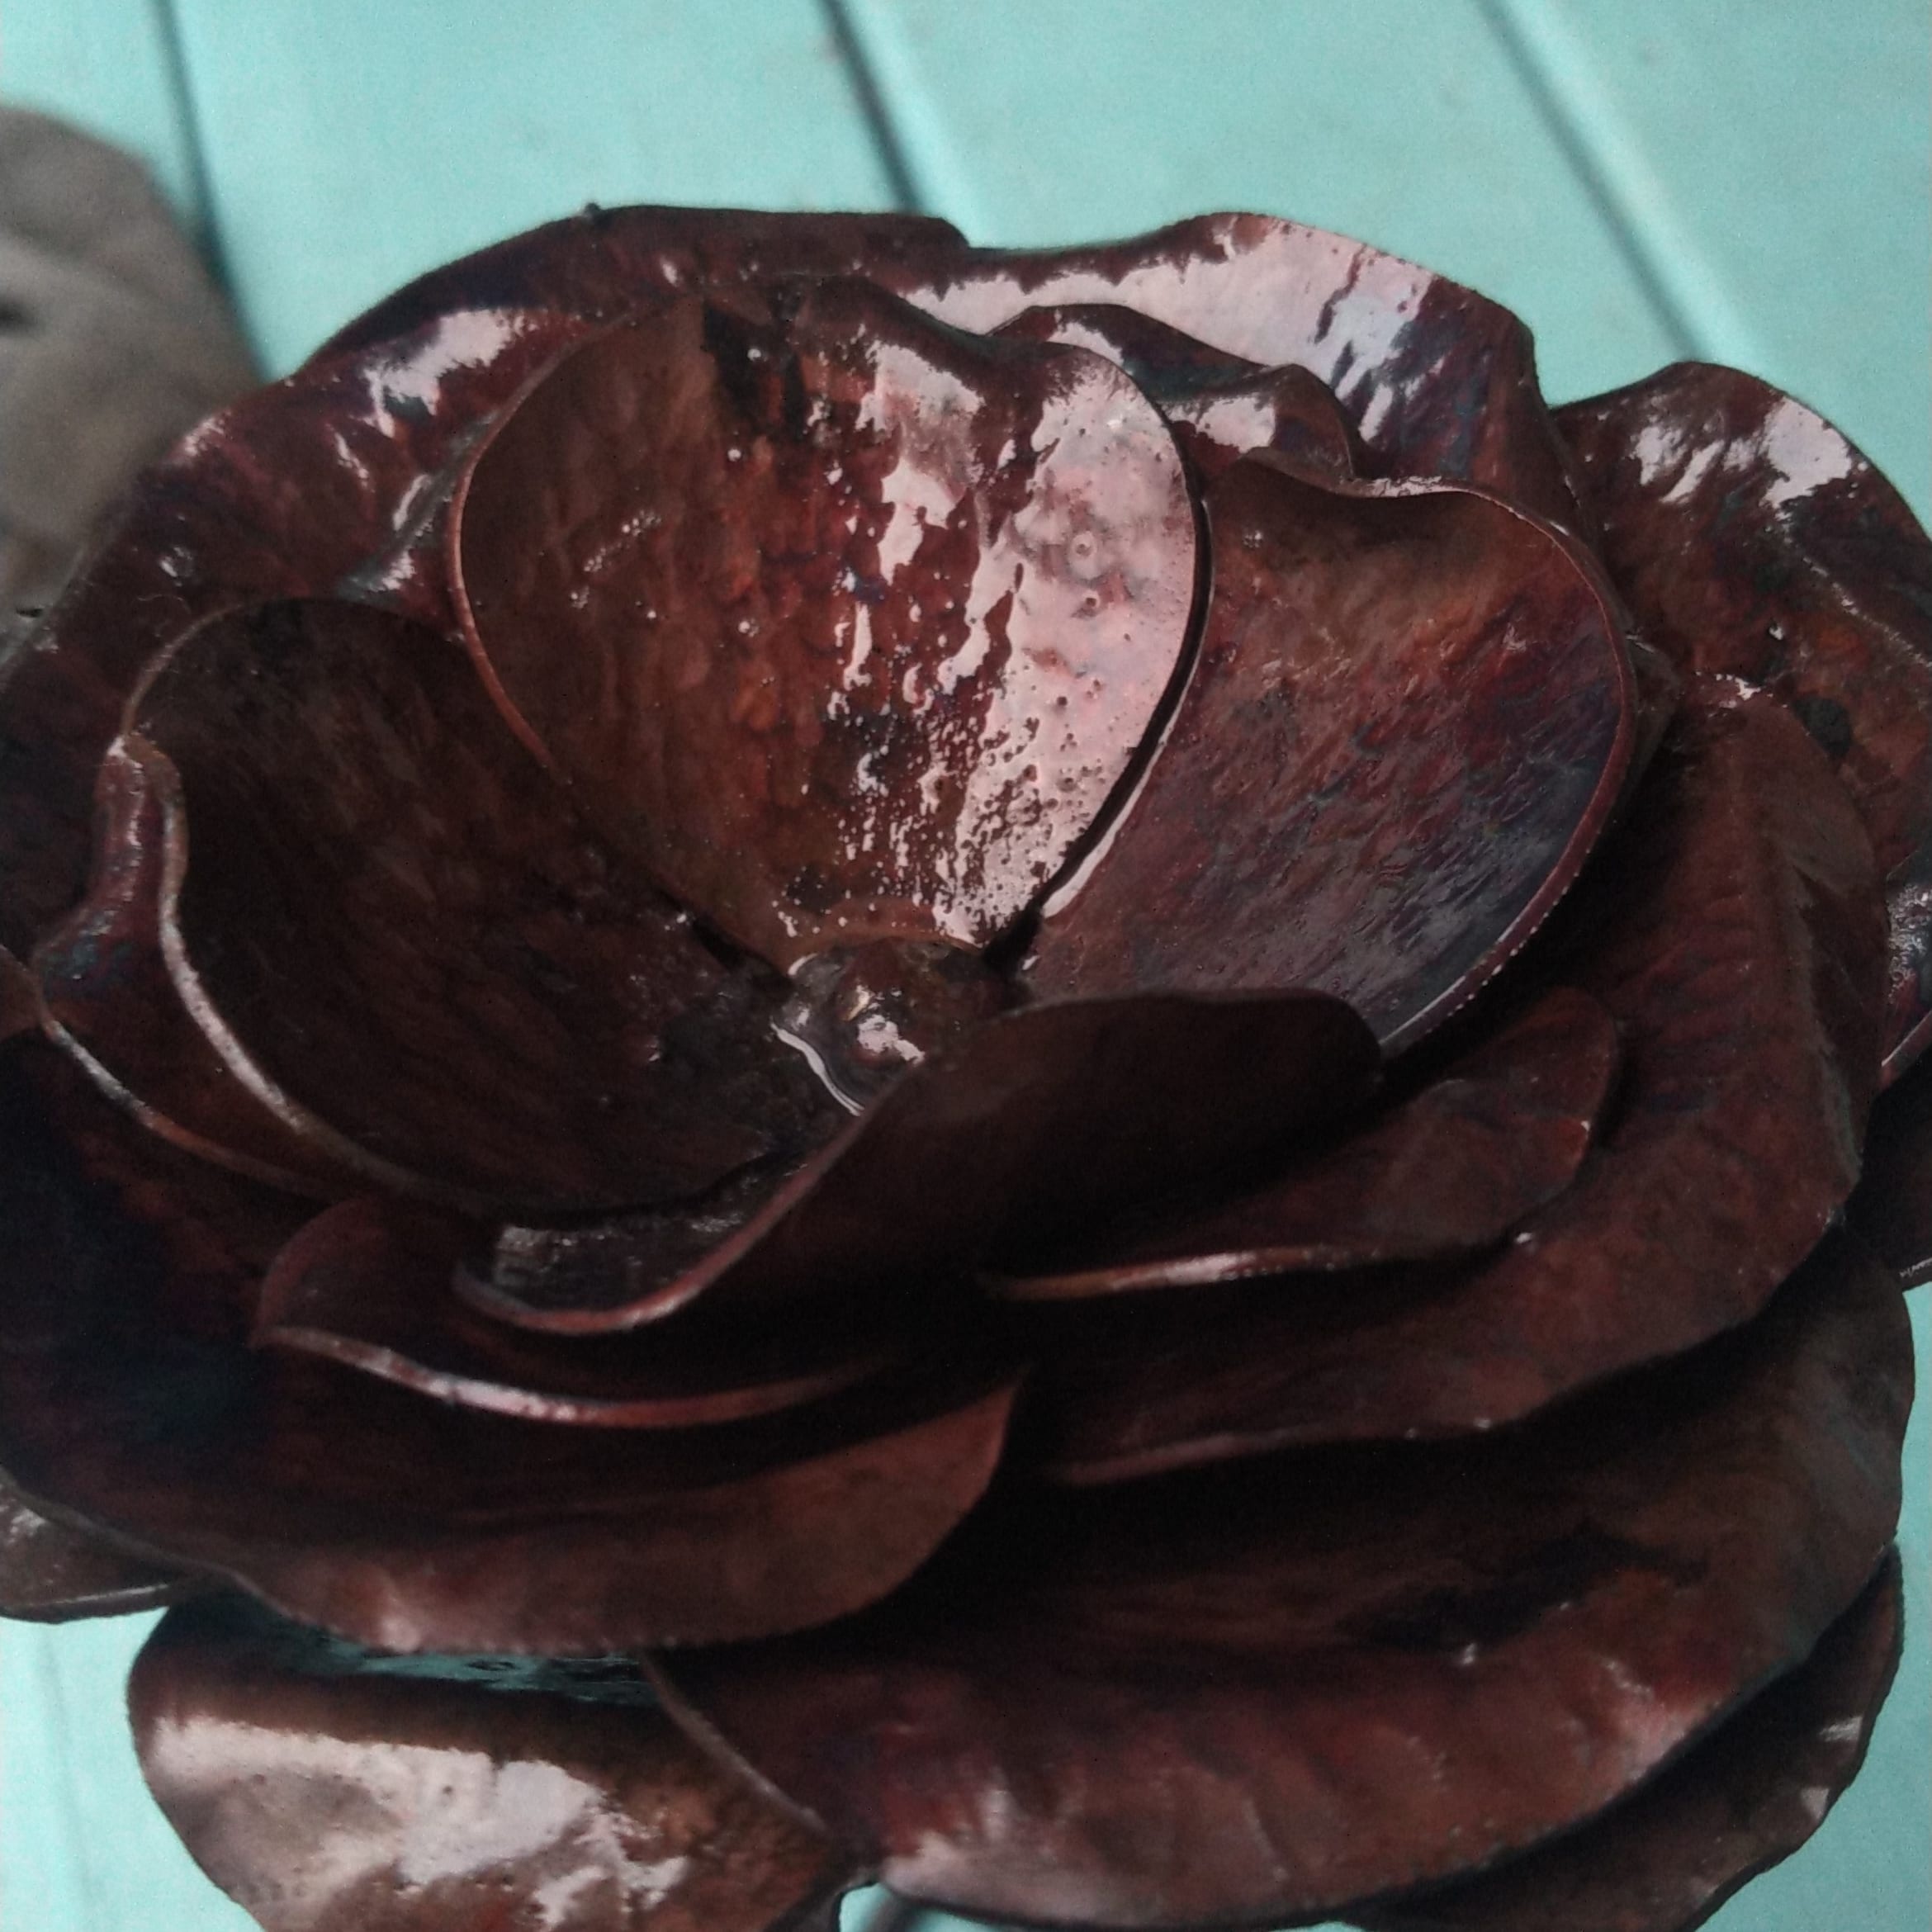
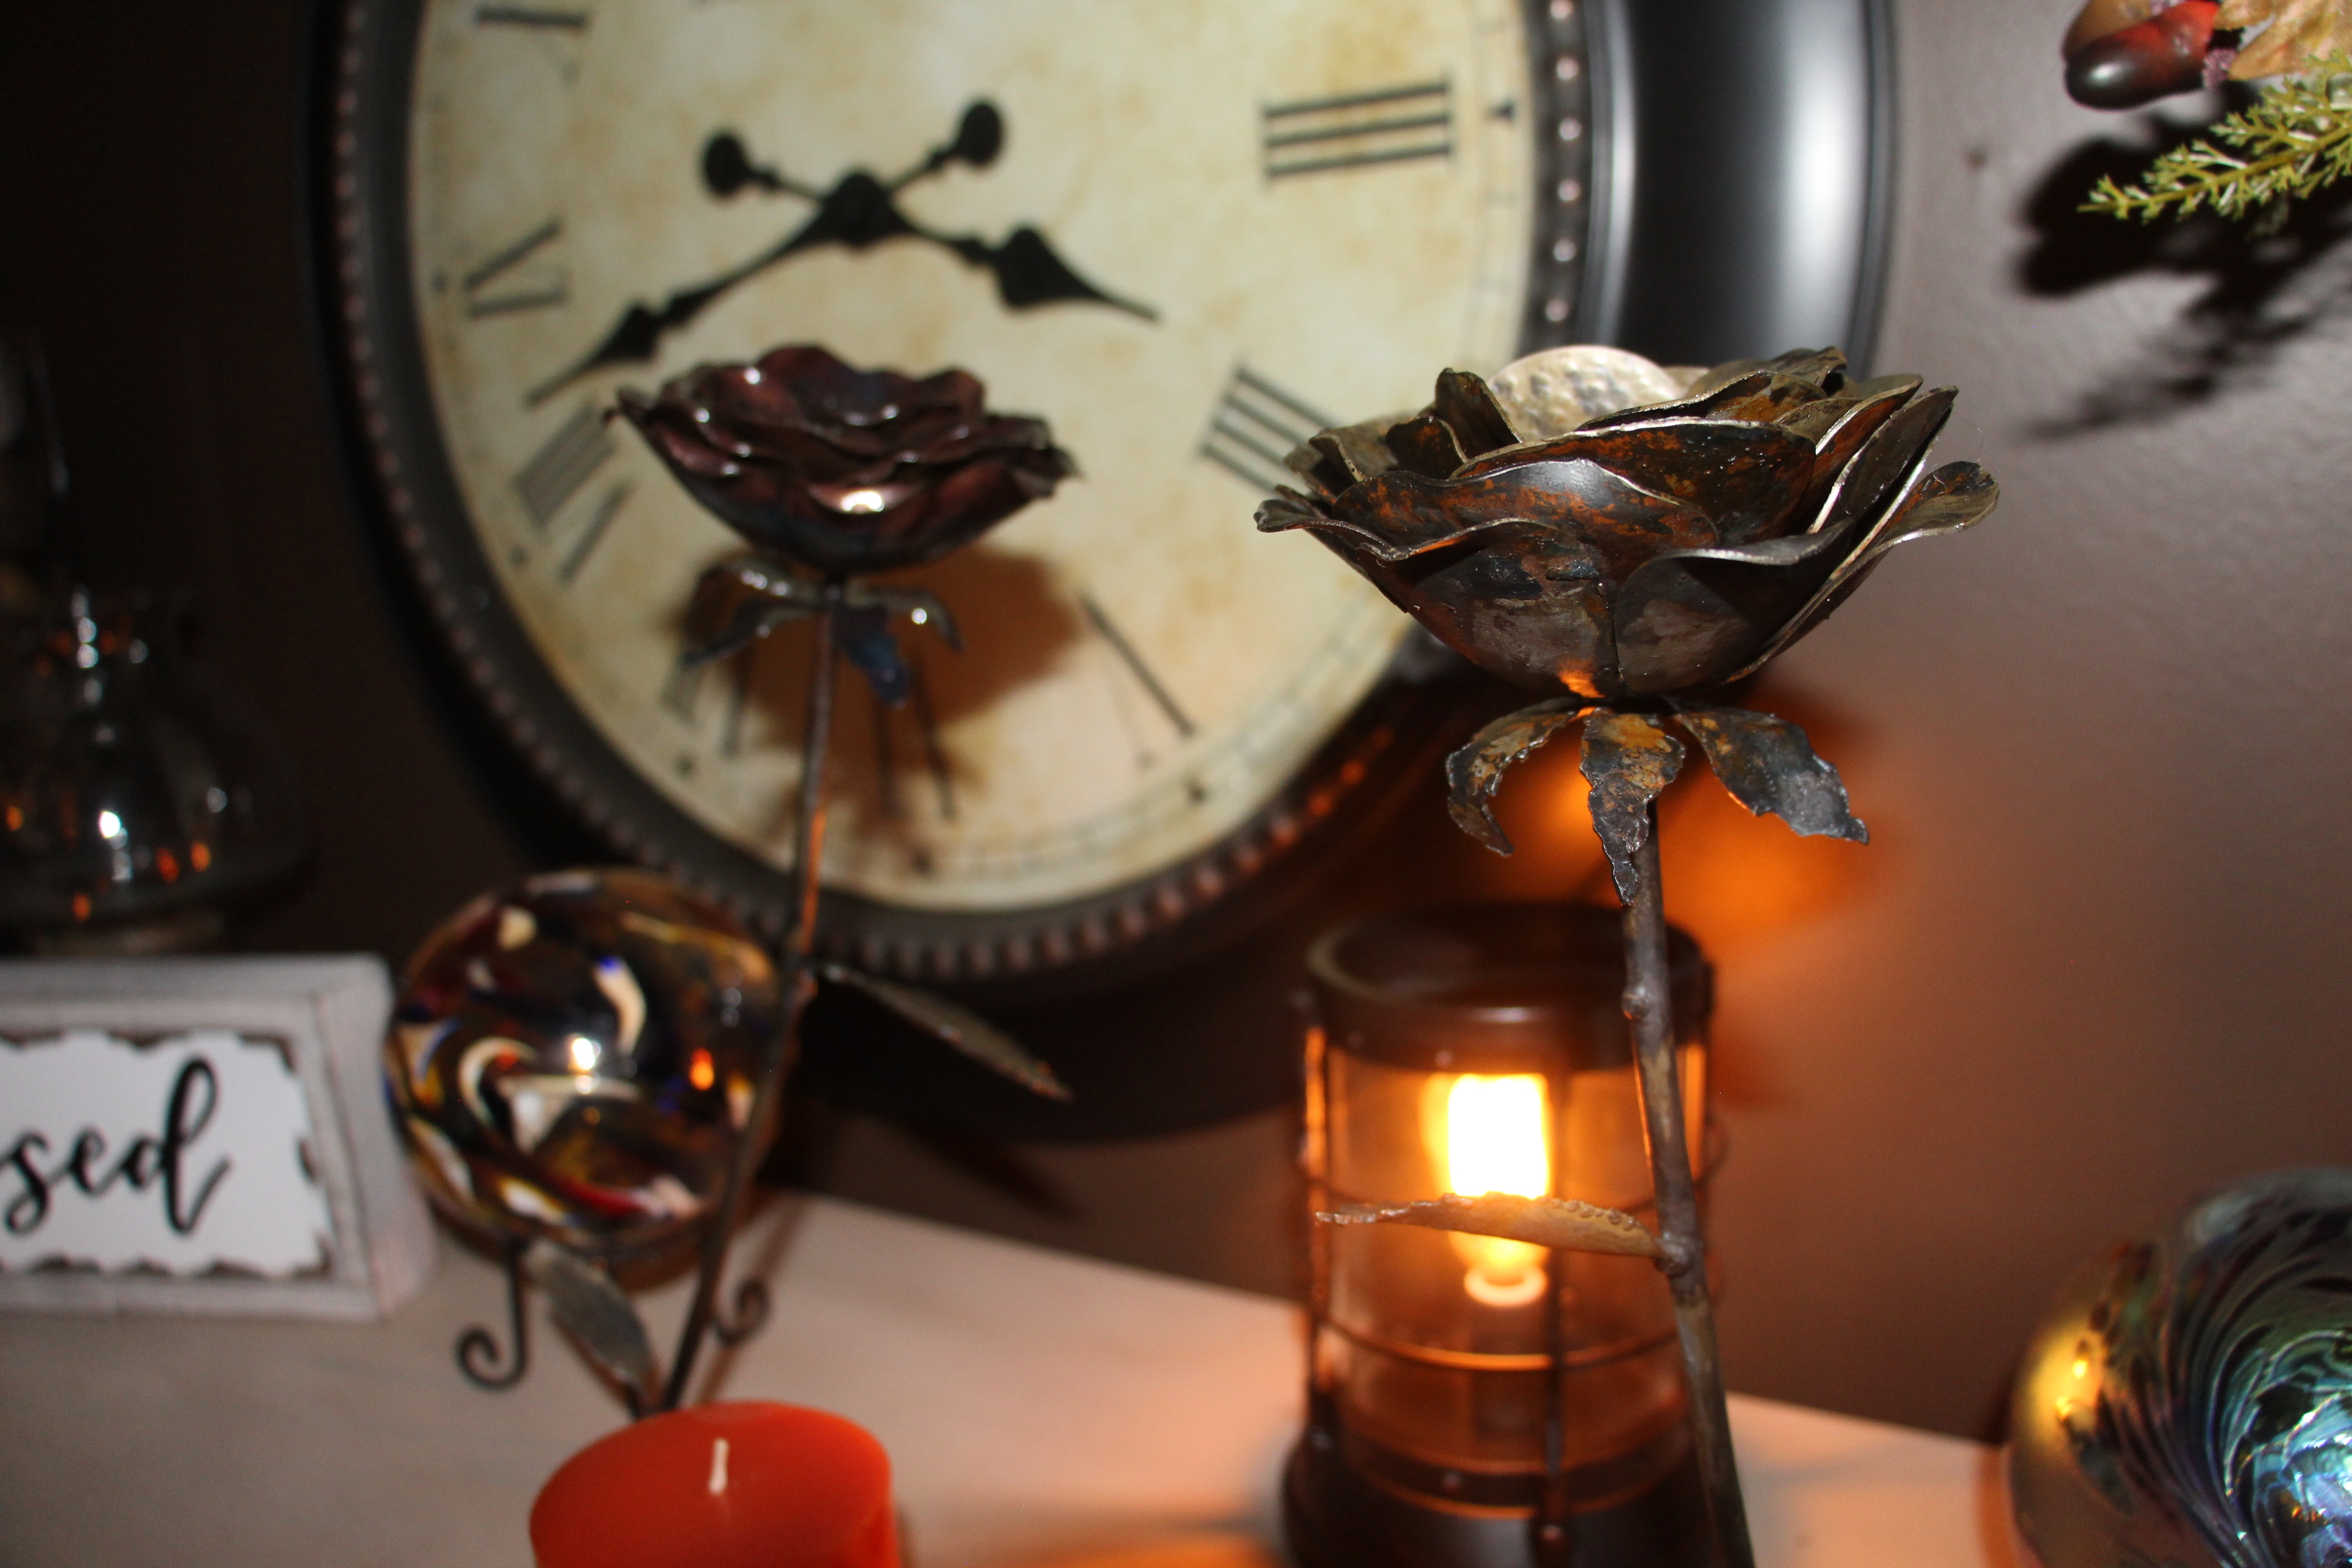
Bring a hand-crafted metal rose to life with these plasma-cut / CNC-ready DXF files. Five layered petal rings, a calyx base, and a single leaf — everything you need to cut, form, and weld a stunning welded-steel rose. Display it indoors, give it as a gift, or sell finished pieces. No dome cap or center hardware required — the innermost petal ring forms the bud center on its own.
Fabrication Notes
Work from the outermost ring inward — Part 1 (wide/open) through Part 5 (nearly vertical). For each ring: hammer the face of each petal with a ball peen for texture, heat the base with a torch to a dull orange glow, then bend upward with needle nose pliers or gloves. Rotate each successive ring so its petals interleave with the layer below — this graduated stacking creates the realistic overlapping petal appearance. Tack weld as you stack, then final weld once all 5 rings and the calyx are positioned to your satisfaction. The inner petal ring (Part 5) is the trickiest — take your time, as thin gauge steel can crack if bent cold. No plasma table? Upload DXF files directly to SendCutSend.com.
7 DXF cut files — 5 petal rings, calyx, and leaf
7 SVG files — Cricut, Glowforge, Illustrator compatible
7 SolidWorks part files (.SLDPRT) for CAD editing
Preview images for all 7 parts
Full README — materials list, forming tips, assembly steps
Physical Product
Stem rod (no dome cap or branch rods needed)
Welding Materials
Part 1 — Outer Petal Ring
The largest petal ring — 8 petals forming the broad, open base of the bloom. Each petal is torch-heated and bent upward and inward with a ball peen hammer to begin building the layered rose shape.
Part 2 — Petal Ring (Layer 2)
Slightly smaller 4-petal ring. Stacks on top of Part 1, closing the bloom inward. Bend petals steeper than the outer ring, rotated so petals interleave naturally with the layer below.
Part 3 — Petal Ring (Layer 3)
Third layer — continues the inward spiral. Rotate when stacking so petals fall into the gaps of the layer below. Bend progressively steeper than Layer 2.
Part 4 — Petal Ring (Layer 4)
Fourth layer — continues closing the rose toward center. Petals bent more upright than the layers below. Rotate so petals interleave naturally with Layer 3.
Part 5 — Inner Petal Ring (Center Bud)
Smallest innermost petal ring — the tight center bud of the rose. Formed into a tightly cupped shape with petals bent nearly vertical or slightly inward. No additional hardware needed — this ring closes the center on its own.
Part 6 — Calyx
The organic, multi-pointed base that sits underneath the outer petal ring and hides the welds where the bloom meets the stem. Jagged edges mimic real rose sepals. Hammer for texture, heat and cup slightly around the base of Part 1 before welding.
Part 7 — Leaf with Stem Tab
Single leaf with an integrated stem tab for direct attachment to the main rod — no branch rods needed. Hammer for texture, heat and bend to a natural cupped or slightly twisted shape. Tab welds directly to the stem.
- A36 mild steel plate — 18 or 20 gauge (0.048"–0.036"). Do not exceed 16 gauge.
- 1/4" solid steel rod — main stem (cut to preferred height; 12–18" for display, taller for garden stake)
- No dome cap, center hardware, or branch rods needed
- MIG or stick welder — TIG not required
Don't have a plasma table? SendCutSend accepts DXF
files directly — upload your file, choose your material and gauge, and get parts shipped to
your door.